Importing a Database
A school's database is a listing of it's students and information such as grade, home room, student ID, etc. We recommend you receive a database from each school in July or August before your Fall shoots. When importing the school's database, DataMatch will assign each student a unique record number. By typing or scanning in that number during data entry all information in the database for that student will be linked to his or her image. This will save you hours of time during the data entry process. NOTE: Some youth sports leagues are now able to provide databases of their players.
Before the Shoot
- Acquire the database from the school as soon as you can. The database must be Comma or Tab Delimited, send it to Century Color to preview.
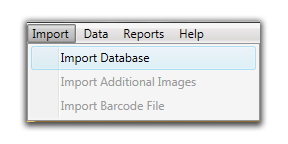
- Once the database is in one of these formats, open DataMatch and choose "Import", "Import Database".
Each database may contain different information depending on the schools' needs. Most databases contain field headers as well.
Importing Data
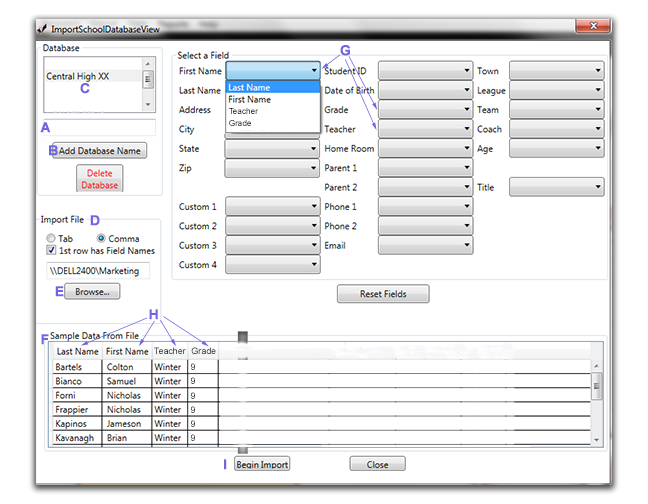
- In the Database section type a name for your database plus the current school year (i.e., Central High 10). Do not include special characters or back slashes.
- Click "Add Database Name".
- Click on the database name to highlight it. In the box labeled "Import File" choose whether your database is Tab or Comma Delimited.
- If your file has Field Names or header names check the box "1st Row has Field Names". NOTE: If your file has header names and the box is not checked off, your file will import incorrectly.
- Browse to the location on your computer where the database is stored.
- The information in the database will appear in the box labeled "Sample Data From File". In this example the database contains field names. They appear in gray across the top row. (FName, LName, Teacher, Grade).
In order for DataMatch to identify which column represents which piece of data, you will need to "map" the fields. - Under the "Select a Field" box click the drop down arrow next to the first field name that represents the third column in your database. Choose the corresponding field name. Repeat until you have mapped all of the fields.
- Click "Begin Import". When the database import is completed, "Import is Complete" will appear.
- Your database is now imported into DataMatch. If you use camera cards you can print them now.